Written between Jun 8-11, 2020
Summer Break is like one long weekend, this is one of the projects that I observed and found really interesting was the installation of a fiber optic cable at home for the internet. We were using a comcast subscription and had maxed out the speed quota, 100/10 (this means 100 mbps down and 10 mbps up). AT&T fiber promises 1000/1000! That is 10x the download speed and 100x the upload speed of what I previously had!
There is a terminal right behind my mailbox, this terminal has all of the fiber for the 4 houses served by the mailbox. A technician came and ran 2 wires to an outlet in our house. One across the sidewalk and parallel to the control box, then one connecting the first wire to the outside control box. The problem that arose was that there was no power to the control box outside, this meant that we either had to bring power outside or we had to snake the cable upstairs to where there is power. The better option is to bring the fiber up, but the contractor was unwilling to do this. We ended up just closing shop and started pondering solutions.
We looked into POE and other crude methods to bring power down. In a vain attempt to check if there was a connection between the top area and the outside control box, I used some old 3d printing filament and ran it down, due to the flexible nature of the filament, it just coiled up and nothing was discovered. We hoped that the next person would either condone our macgyvered solution or be willing to try fishing the cable through the wall.
Luckily the next person that came was a kind filipino soul who was really willing to try anything and had an air of confidence around him. He seemed knowledgeable and was willing to try risks and unlike the other person who came, he trusted my dad and I and was willing to try to snake the cable through. This eventually worked and knowing that this was possible was both a relief and mildly infuriating as we could have had all of this figured out a few days ago.
After snaking the cable up, the fiber optic cable was terminated and turned into copper. The signal is then sent downstairs underneath the TV to where the modem and router are, the signal is then split into 4 networks, the best way to describe them are the following:
AT&T Router - Speeds of ~950/950 wired
- “Unsecure Devices and Entertainment” - This was both wired and wireless and is used by most devices at home (phones, laptops, etc)
- “Guest” - The guest network, wireless only
The Apple router - Speeds of ~300/300 wired (not gigabit capable, upgrade soon)
- “Secure user devices” - This is basically the entire house’s ethernet and is used by laptops that are docked (mine and my dad’s) and other devices such as the Raspberry Pi’s. Both wired and wireless.
- “Secure devices” - Wifi devices that need to be isolated.
The Apple router signal is sent back upstairs into a network switch which then supplies ethernet to the rest of the upstairs. This topology took a while to figure out, but it seems to work quite well.
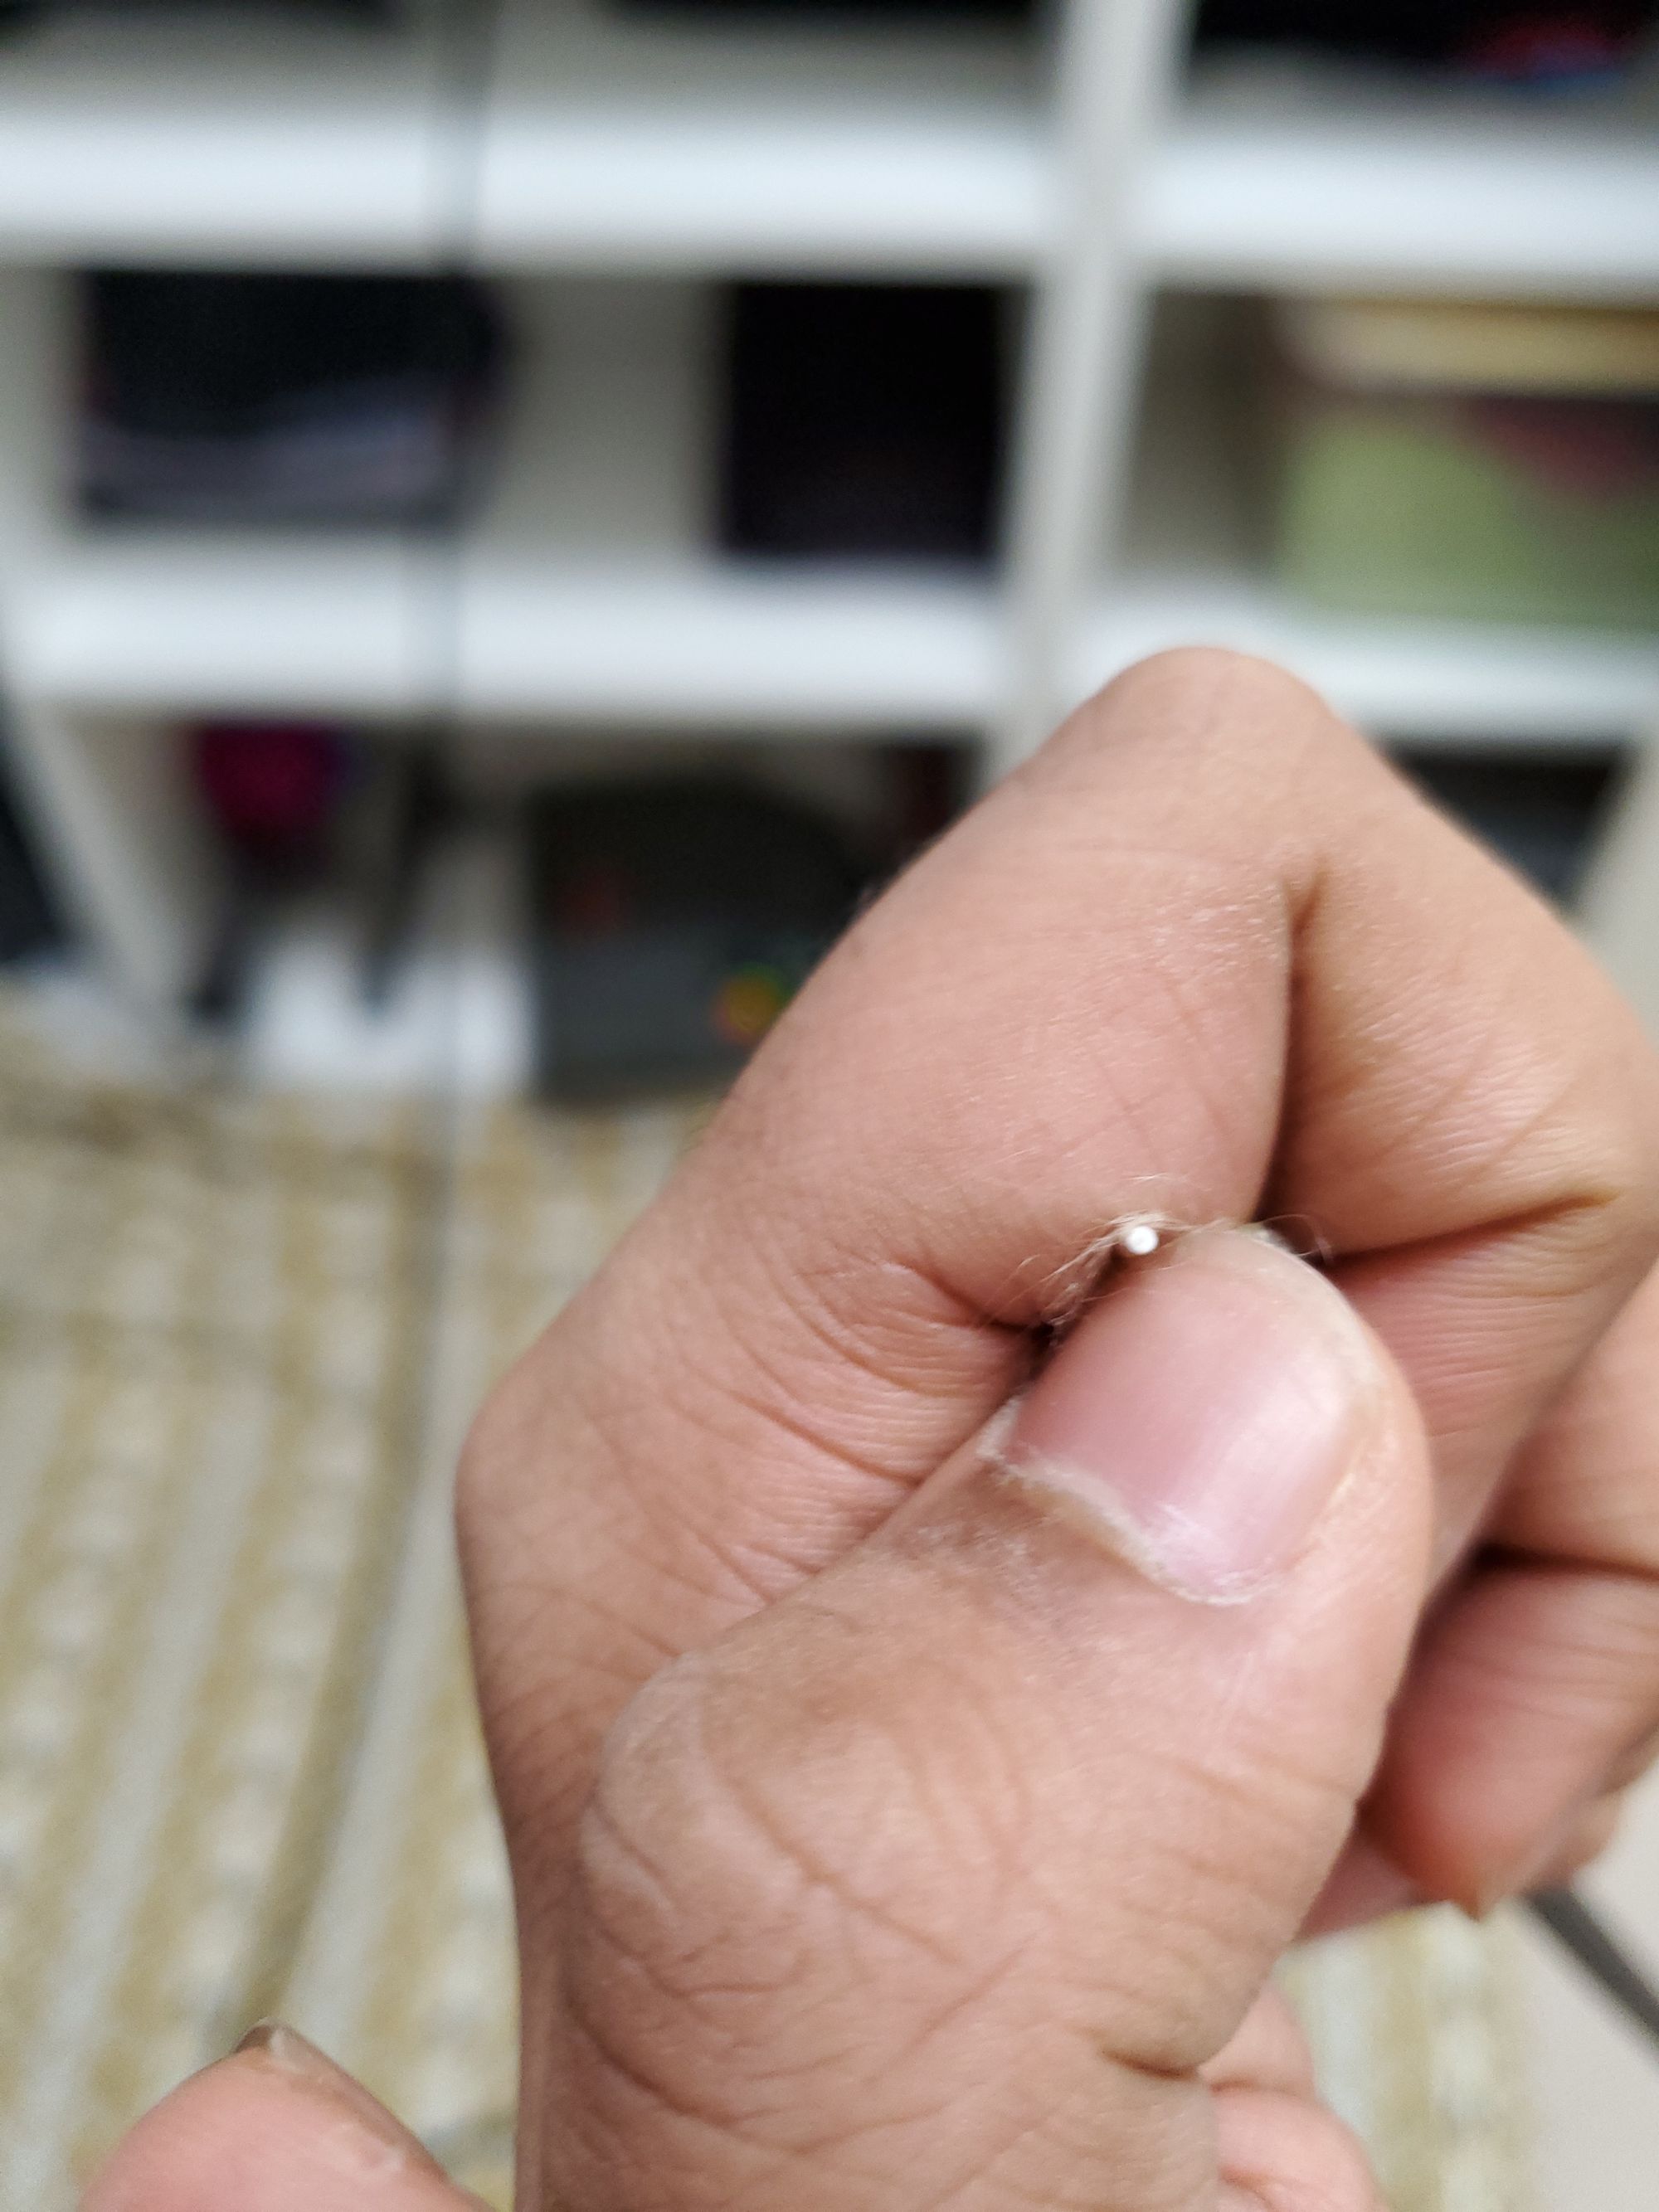
The thing that baffles me the most is just how thin a fiber optic cable really is. The shielding makes it seem impossibly thick, but in reality it is so thin, you can barely see it. Here’s a photo of it unshielded:

The fiber optic cable isn’t the white thing, it’s about ~9 pixels in size inside the white cable! My phone was barely able to capture it! *This photo is from an offcut piece.
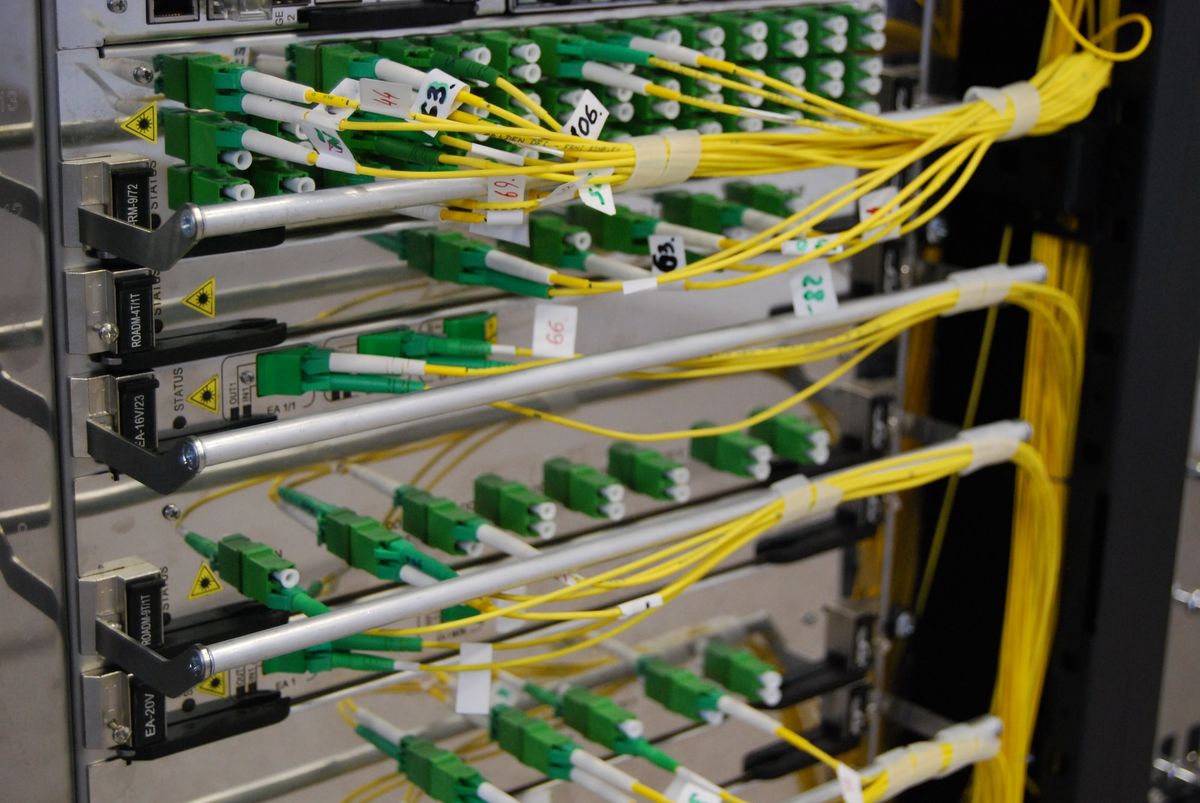
I thoroughly enjoyed this project because I learned a lot about fiber optic cables and how they are routed. Here is a really cool video that I watched and learned a lot from.


